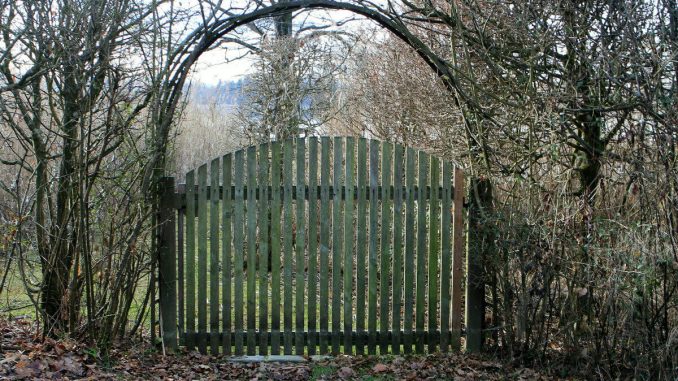
A well-built timber gate may make a big difference in the aesthetics and security of your property. Not only does it provide privacy and protection, but it also adds a touch of natural beauty to your surroundings. If you’re looking to embark on a DIY project and build your own timber gate, this comprehensive step-by-step guide will walk you through the process. From planning and measuring to assembling and finishing, we’ve got you covered.
Planning and Preparation
Before starting any construction project, careful planning is essential. Begin by determining the location and purpose of your timber gate. Measure the opening accurately and consider the style and size you desire. Choose the sort of wood you wish to use while keeping durability and weather resistance in mind. Sketch out your design and create a list of necessary materials and tools, such as timber boards, hinges, screws, a drill, a saw, and a level.
Gathering Materials and Tools
With your design and material list in hand, it’s time to gather all the necessary supplies. Visit your local hardware store or timber merchant to purchase high-quality timber boards that match your requirements. Ensure you have all the tools needed for the project, including safety equipment like gloves and goggles. Investing in high-quality materials and tools will extend the life and improve the overall quality of your timber gate.
Cutting and Assembling the Frame
Start by measuring and cutting the timber boards for the gate frame. Use a saw to create the appropriate lengths and angles, ensuring the corners are square. Once the frame pieces are cut, assemble them using screws and a drill. Check that the frame is level and sturdy before proceeding to the next step.
Adding the Cross Members and Pickets
Add cross elements to the gate frame for structural strength and cosmetic appeal. Measure the distances between the frame members and cut the cross members to fit. Screws or nails should be used to secure them. Next, measure and cut the pickets that will make the vertical slats of the gate. Space them equally and screw them to the frame, making sure they are plumb and aligned.
 Installing Hinges and Hardware
With the gate structure complete, it’s time to install the hinges and hardware. Choose durable hinges that can support the weight of the gate and secure them to both the gate and the adjacent fence or post. Ensure the gate swings freely and closes properly. Add a latch or lock mechanism for security and convenience.
Finishing Touches
To enhance the durability and appearance of your timber gate, apply a protective finish. Choose a weather-resistant wood stain or paint that complements your overall aesthetic. Apply multiple coats, following the manufacturer’s instructions. Additionally, consider adding a sealant to protect against moisture and UV damage.
Conclusion
Building a timber gate can be a rewarding DIY project that adds value and charm to your property. By following this step-by-step guide, you’ll be able to construct a sturdy and attractive gate that enhances both security and aesthetics. Remember to prioritize safety and quality in every step of the process. Now, go ahead and enjoy the satisfaction of opening and closing your very own handmade timber gate!

Leave a Reply