
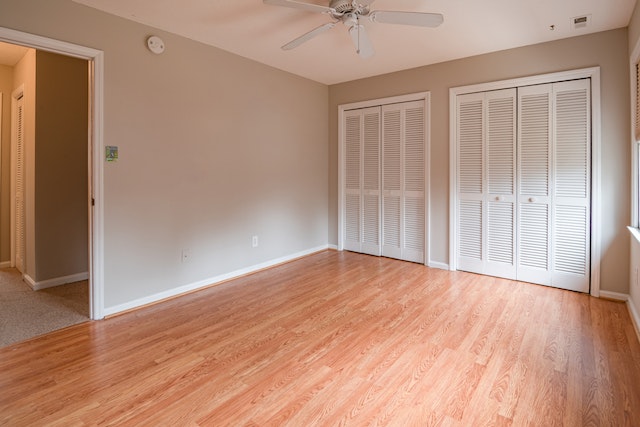
We’ve all experienced it – the annoying squeak of hardwood floors. It’s not just a petty nuisance, it’s an acoustic invasion in our peaceful homes.
But don’t worry, we’re here to help! We’ve nailed down some innovative techniques that’ll silence those squeaky boards for good.
So how to fix squeaky hardwood floors? Let’s dive right in, roll up our sleeves and reclaim the harmony of your home together.
Understanding the Causes of Squeaky Hardwood Floors
Before we can fix ’em, it’s crucial to understand what’s actually causing your hardwood floors to squeak. Generally, the culprit is a gap that develops between the subfloor and the actual hardwood floor itself. This happens due to natural fluctuations in humidity levels causing wood expansion and contraction. Over time, this movement creates spaces where nails have loosened, leading to irritating squeaks when weight is applied.
Now, let’s get innovative with solutions! We’re talking about methods beyond traditional screwing and nailing techniques. For instance, there are specially designed products on the market — like adhesive injection kits — that fill these gaps without needing access from below. These work by injecting an adhesive through small holes drilled into your flooring (don’t worry – they’ll be concealed), effectively bonding loose areas back together.
Remember though: knowing how to properly use these products is key; otherwise you might end up with more problems than just a squeaky floor! And always consider consulting with a professional if you’re unsure about anything – better safe than sorry, right?
In our next section, we’ll dive deeper into these innovative fixes for your noisy hardwood floors. So stick around!
Tools and Materials Needed to Fix Squeaky Wood Floors
You’ll need to gather some specific tools and materials to start your repair project. We’re talking about items that will make the job easier, more effective, and result in a squeak-free hardwood floor. It’s important we get this right because precise tools will lead us to a precise finish.
Here are the key pieces of equipment you’ll need:
- A stud finder: This innovative tool helps us locate the joists beneath our hardwood floors.
- Wood screws: These are integral for securing loose floorboards.
- Wood filler: We use this to cover up any holes or cracks once we’ve done our repairs.
We understand that not everyone might have these lying around, but they’re worth investing in. They aren’t only useful for this project, but they’re also handy for other household fixes.
Remember, innovation is all about making things better and simpler. With these tools at our disposal, we can turn what seems like a complex issue into an easy fix.
Let’s take control of those persistent squeaks together! You now have everything you need to proceed with confidence on your path towards smooth and silent flooring.
Step-by-step Guide to Locating the Source of the Squeak
Let’s dive right into a detailed guide on how to pinpoint that annoying creak in your home.
First off, we need to locate the squeak’s exact origin. It could be anywhere from the basement ceiling to underfoot. We’ll walk slowly over the suspect area, applying weight evenly with each step.
Now, here’s a nifty trick for those stubbornly elusive sounds: use a stethoscope or even just a glass pressed against the floor. This amplifies the sound and helps us zone in more precisely! If we’re dealing with carpeted floors, we’ll feel around for loose nails or staples beneath the carpet pile.
Next up, once we’ve located our culprit, it’s time to mark it. We don’t want to lose track of where it is after all this effort! Let’s make an inconspicuous mark using chalk or masking tape.
Finally – and this is crucial for ensuring a seamless repair job – let’s determine if there are any hidden elements such as pipes or cables nearby using a stud finder tool. With these steps completed, we’re ready to move onto fixing that pesky creak!
Remember folks; patience and precision are key in this process. Stick with us—we’ve got you covered!
Techniques to Fix Creaky Wood Floors From Above
Now that you’ve pinpointed the source of that annoying noise, it’s time to explore different methods for silencing it from above.
We’re going to dive into two innovative techniques: using a specialized repair kit and installing strategically placed screws.
Firstly, we’ll discuss squeak relief repair kits. They’re super handy for fixing squeaky spots without damaging your finished floor. The kit includes a depth control fixture, scored screws, and a special tool to break off the screw heads after installation. All you have to do is drill in the provided screw until it pulls the wood tight against the joist – eliminating any space for movement and thus, the squeak.
On the other hand, if we’re dealing with carpeted floors or well-worn hardwoods where aesthetics aren’t as important, we can opt for counter snap screws. These extra-long screws are driven through your flooring and subflooring straight into the joist below. Once again, this method works by eliminating room for movement between layers.
Remember though – while both methods are DIY-friendly, don’t hesitate to call in professional help if needed! Contact California Flooring and Design in San Diego, CA to help you with your squeaky hardwood floor problem.
Methods to Repair Squeaky Floors From Below
Shifting gears, it’s crucial to know how you can address those pesky noises from the underside of your flooring. The artistry is in resolving this issue without having to tear apart your beautiful hardwood. We’re here to guide you through this innovative process.
Firstly, we’ve got to identify the exact areas that are causing the trouble. A helping hand would be useful here; while someone walks over the floor above, another can listen below for squeaks. Once located, it’s time for some clever fixes.
One method involves using specially designed brackets, which pull the subfloor tight against the joist to eliminate movement and noise. These are easy to install and don’t require any significant alteration of your structure.
Another approach is applying construction adhesive along the gap between joist and subfloor – a quick-drying solution that provides a strong bond, reducing those grating sounds.
Lastly, we could shim any gaps seen between joists and subfloor using small pieces of wood shims or special plastic shims designed for this purpose. It’s an old-school fix but often does wonders when executed correctly.
In short, we’ve got more than one way up our sleeves to silence those squeaky floors from below with minimal fuss!
Tips for Preventing Future Squeaks in Hardwood Floors
You’re not only interested in silencing those annoying creaks, but also in preventing them from recurring in your beautiful planks, right? Well, we’re here to provide some innovative solutions.
First off, let’s maintain our floors properly. We’ll need to control the humidity levels in our homes because drastic changes can cause wood to expand and contract leading to squeaks. A humidifier during dry months and a dehumidifier during wet ones will do the trick.
Next on our agenda is regular cleaning with products specifically designed for hardwood surfaces. We’re avoiding any moisture buildup that could damage the wood and lead to creaking. Also, let’s remember not to ignore minor issues; small cracks or loose boards should be fixed promptly.
Lastly, when installing new hardwood floors or replacing parts of an old one, we’d recommend using high-quality materials and skilled professionals. Don’t underestimate the power of good installation; it’s vital for longevity and soundproofing.
In essence, prevention is always better than cure especially when it comes to maintaining the charm of our hardwood floors. So let’s take these tips seriously if we’re looking forward to peaceful walks around our homes without any squeaky interruptions!
Conclusion
We’ve walked you through the hows and whys of silencing those pesky squeaky hardwood floors. Remember, it’s not rocket science; with the right tools and a bit of elbow grease, we can conquer this household annoyance together.
So let’s bid adieu to those irritating echoes underfoot, making our homes the peaceful havens they’re meant to be.
Leave a Reply