
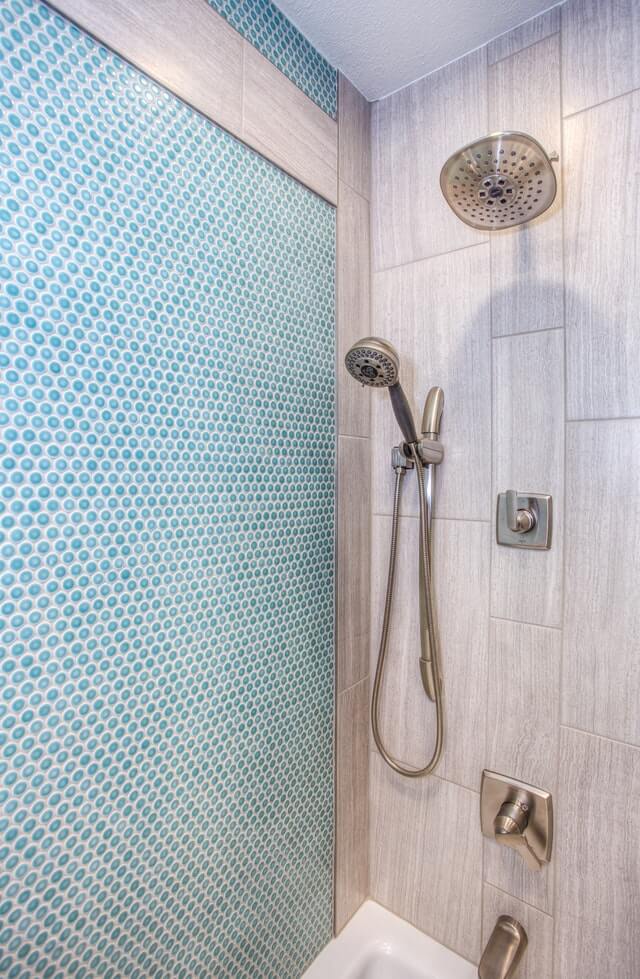
Proper tile cleaning and regrouting can ensure your shower or bathroom is always free of leaks. Sometimes it’s just a matter of getting the right materials and tools to do the job correctly. Other times it may require the services of a professional.
Good thing regrouting tiles in your shower is quite easy and it doesn’t require any special skills. You just have to know the things you need to do in order to restore the tiles in your shower and make it look like new again.
Read more as we are going to talk about the DIY tips to follow when regrouting leaky showers in today’s post.
Tile Regrouting Defined
In simple terms, regrouting tiles is a cost-effective process of removing the old grout from the seams in-between tiles and then applying fresh new grout. This method not only rejuvenates the aesthetic appeal of your shower but it also extends the lifespan of your tiling. And provided the tiles are not cracked or chipped, the finished product will surely make your shower look almost brand new.
When regrouting leaky showers, you need to use the correct materials and tools to get the desired result. And the duration of the DIY project will depend on the size of your shower, usually around 2 to 6 hours.
Can It Fix Leaky Showers?
The answer to this question will depend on where the leak is coming from. Most experts recommend that you identify where the leak is coming from and fix it immediately. Tile grouting on the other hand, serves as a preventive measure to save your shower from getting damp and stop molds from forming on and in-between the tiles. Likewise, it prevents the possibility of termite infestation as these insects are attracted to moist and damp places.
What You Need To Do?
Tile regrouting is a 2-step process.
First, you need to remove the old grout from the previous installation in-between the seams and joints. This aged grout is hard, so you need to use the correct tools to remove them completely. Then, some manual scrapping and force may also be required.
The tools you’ll need for removing grout are an oscillating tool, a scraper, a triangular trowel, a flat head screwdriver, and a utility blade. Use the oscillating tool to crumble the old grout, and manually chip hard to remove areas with the screwdriver and a utility blade. Once the aged grout is removed, use a vacuum to clean the dust and debris on the tiles.
Once the tiles are vacuumed, the next thing to do is apply the new grout mixture. The new grout comes in dry form and semi-liquid paste. We recommend you purchased the pre-mixed variety so you can proceed immediately to the application process.
Use the triangular trowel to spread the new grout. Make sure that it goes into the seams until they are fully sealed. Then remove the excess grout on the surface by using a scraper and a damp towel, let it dry and wipe it clean again.
And these are the things you need to follow when regrouting leaky showers.
If you looking for a shower regrouting service in Perth, you can click on the link and visit this website today.
Leave a Reply